28mm WW2 French and early war Germans for Bolt Action:


I have been hobbying and playing for the past two months (although FTF gaming is over for the time being, thanks Omicron!), but seem to have lost my will to post on my blog. So, here are some belated updates.
Tully Sworn Shields:

Savage Cave Dwellers and some NCUs


Commandos for my Bolt Action British:


Bolt Action French - these are Crusader with a 3d printed flamethrower ordered from Etsy:


Wargames Atlantic (nice figs!!) Senegalese for my Bolt Action French army:


Sidekick for the flamethrower - I thought the cigarette nicely complements the gas mask

And some Warlord Games New Kingdom Egyptians for something different:


And some shots of the 13.5mm ACW project - cavalry from Kallistra to go with the Warlord Epic troops


I have been lazy about posting, but lots of stuff painted over the past few weeks while I took some time away from work.
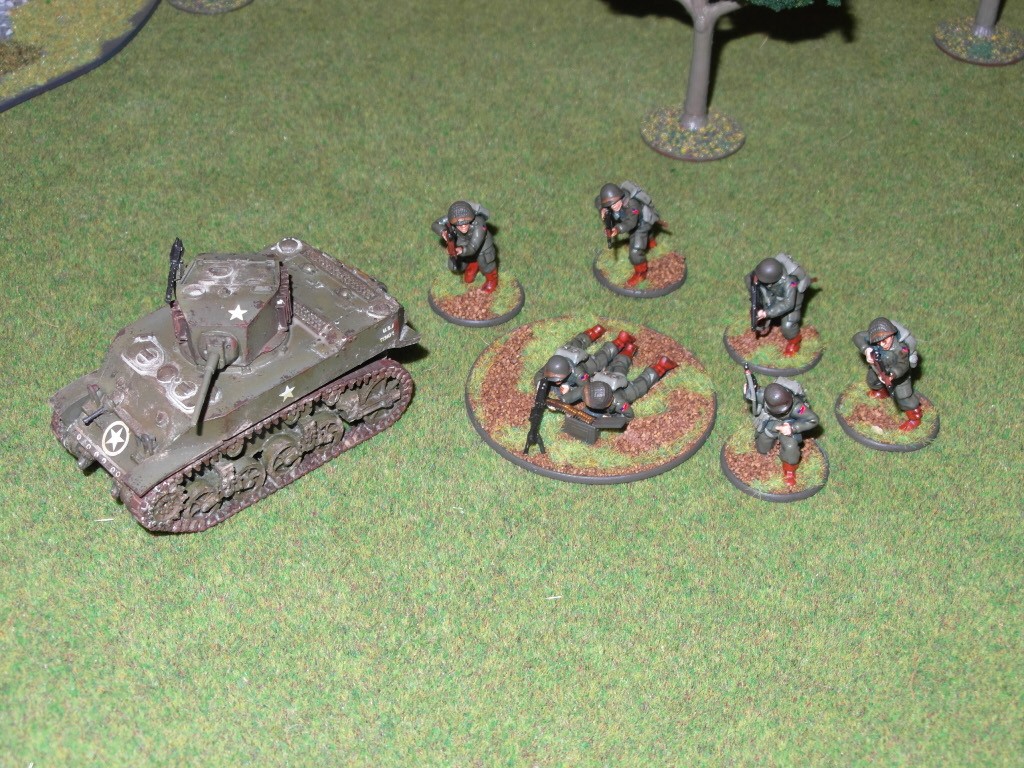
Bolt Action US Paras:

Grenadiers


A Hanomag with magnetized MG or PAK36 options:


An early war Panzer IV - I think I am getting better at this weathering thing.

A Puma

Warlord French support group - the start of an early war Bolt Action French army!

Nice figs - I especially like the officer with the Gauloises!

Wargames Factory British chariots for Jonathan

A regiment of Dragoons (20mm Newline) for the Lasalle project


And some of the goodness that is the Invictus box set for 40k 9th edition! The models are fantastic, the Skorpekh destroyers and Lord are pretty hit hitters in melee


And another batch of vehicles - early war Krupp truck, Pz38t and a later PzIII.


And early war German infantry with a few more Airborne weapons teams